
My favorite surface to paint on is wood, especially for small paintings. The smooth surface allows a brush to swoosh across. In contrast, I find the “tooth” of canvas panels for small works obliterates the flow of the brushmarks. Of course, it’s all a matter of taste. Maybe you’d like to see how I prepare my panels.
I’d always thought I was buying birch plywood, but I was told it’s actually pine. Whatever the actual wood is (!), the stuff I use comes in 4 x 8′ sheets and is 1/4″ thick. There are varying degrees of quality (and price) to consider. The most important thing is to make sure one of the sides is blemish-free.
Luckily, I have a local handyman who will do the cutting. I gave him an 8 x 10″ canvas panel to use as a guide. Carpenters tend to cut things a little bit big; their goal is to have a piece that has to be banged in, rather than something too small that would show a gap. Banged-in might be ideal when building a house, but you certainly don’t want to have to bang in your paintings into frames! Why do I use 8 x 10″ size? That’s the size I use most often for plein air painting. Maybe you’d prefer 9 x 12″ or 11 x 14″. And the 1/4″ thickness fits perfectly into my wet painting carrier (from Raymar Art).
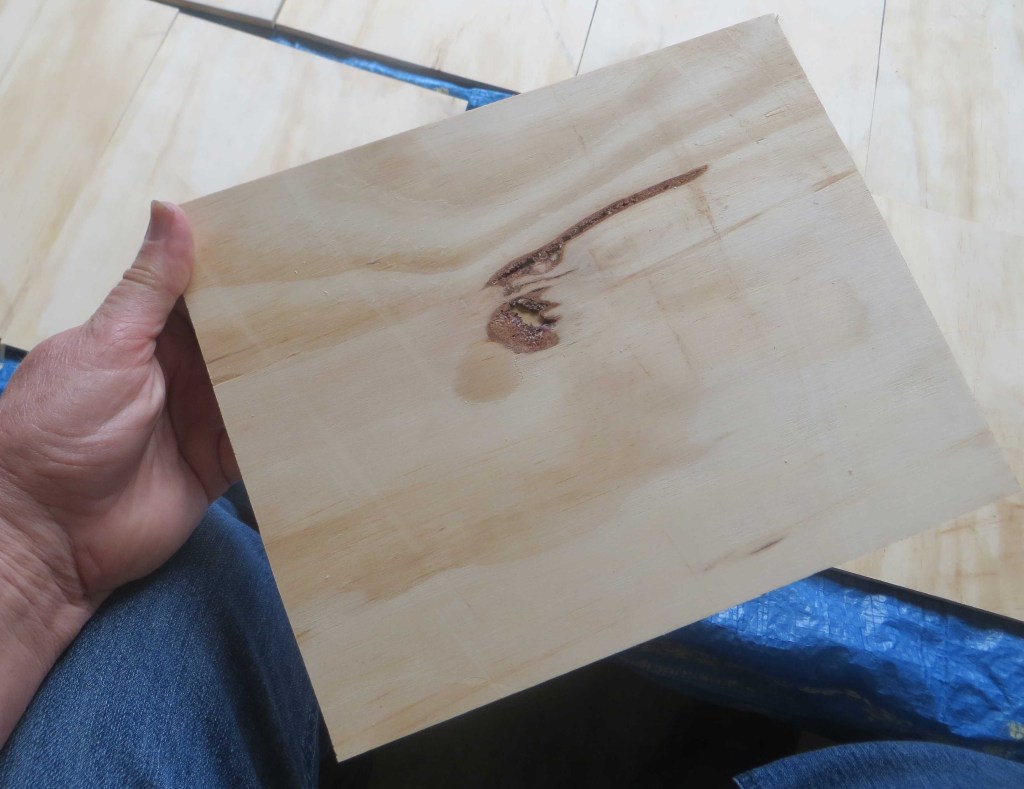
To get started, lay a plastic tarp over your work table. Warning: it’s a messy job! And please wear an apron to keep the mess off your clothes. It’s best to work on a concrete floor that can be swept off. Avoid doing this on your living room carpet! Once you get the tarp down, begin laying wood pieces with the bad side facing up. Below is a photo of the “bad side”. It’s got a big knot in it. You don’t want to paint on this side. Be sure all the smooth “good” sides are facing down at this point.
Here’s my table full of “bad sides” up.

Using a large house painter’s brush (or a wide foam brush), give these bad sides one coat of house paint. Any pale color is fine. Avoid very dark colors. You’ll find out why later. Tip: pick up a gallon of cheap “wrong tint” paint at the hardware store. Interior or exterior is OK; I’d avoid high-gloss.

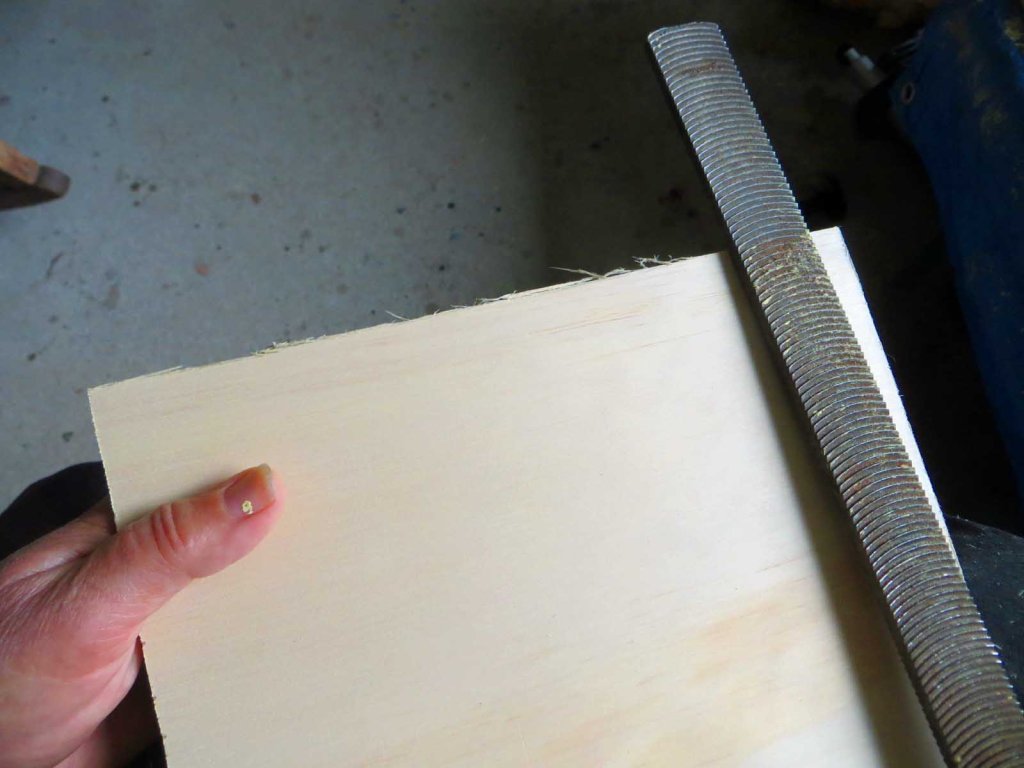
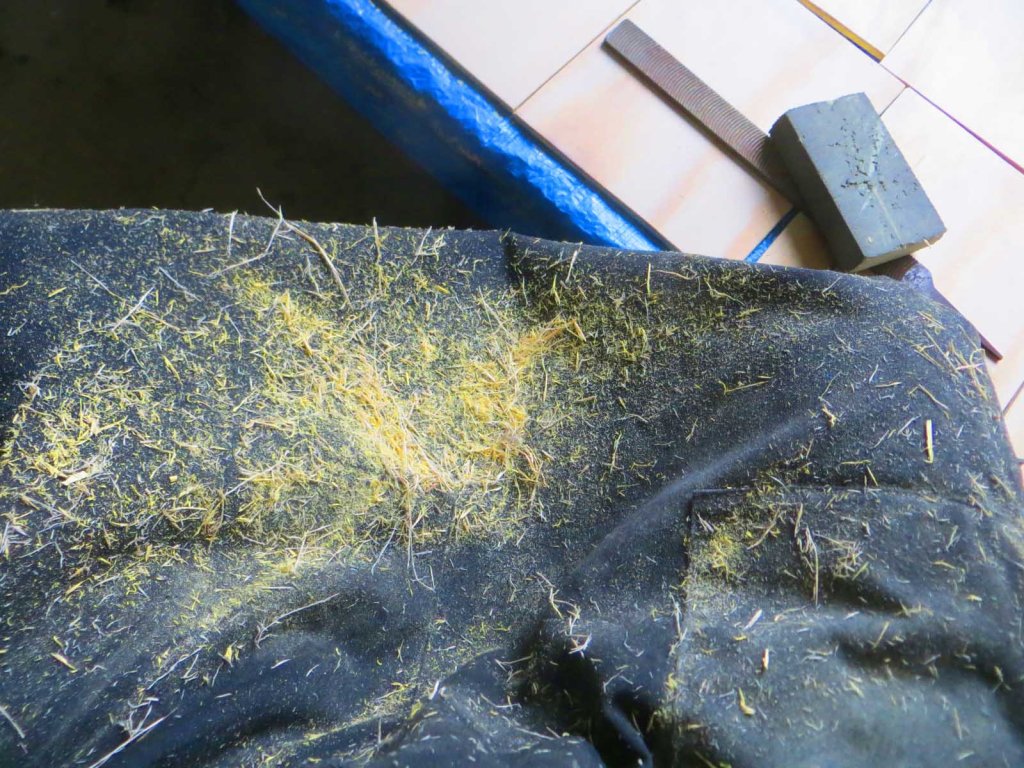
After the paint has dried, smooth out rough edges with a metal file. Just use a few swipes to get the worst of it off. Don’t spend a lot of time on this. Then go over the edges with a few swipes of medium-grit sandpaper. This is just to avoid splinters later on.
You DID remember to wear an apron, right?
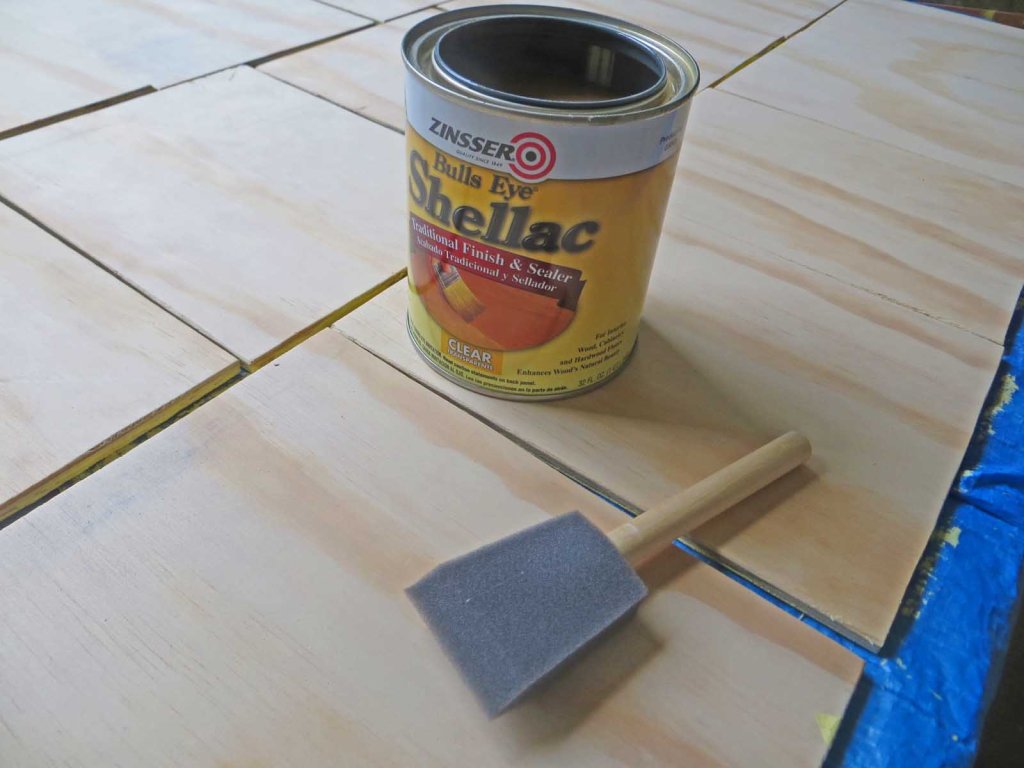
Now flip all the pieces over so the good sides are up. Using a foam brush, give one coat of shellac. I prefer the clear shellac, but maybe you’d prefer the amber. You’ll notice it soaks into the wood, raising the grain. Don’t worry….
After the shellac has dried, sand lightly using medium-grit sandpaper. Then apply another coat of shellac. Let dry. Sand lightly, then apply shellac again. Let dry; shellac. I generally use 3 coats of shellac (or more). I don’t worry a whole lot about wiping away the sanding dust. It seems to sink right in and dissolve.
After you’ve got several coats of shellac on, the surface should feel pretty smooth — and slick! I’ve painted on this slick surface before – which is almost like painting on glass. Maybe you’d like this. What I’ve learned to do is give the surface a thin coat of toner.
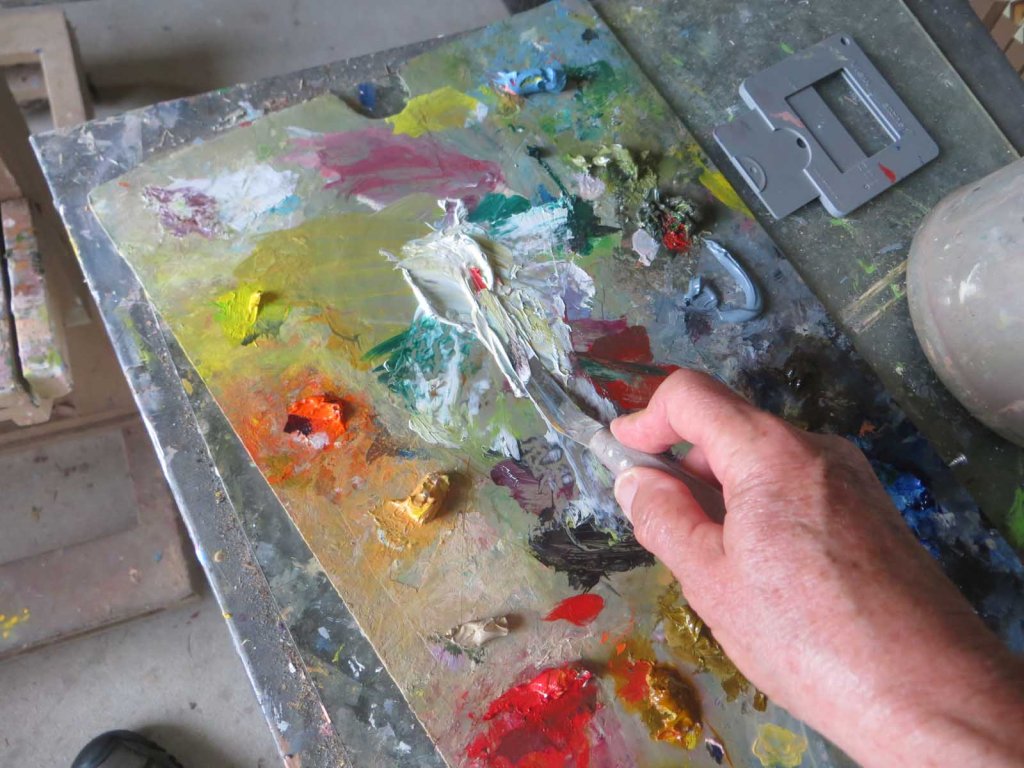
How I make my “toner”: Usually there are globs of leftover paint on my palette when I’m done for the day. Using a palette knife, I scrape these up and mix a (hopefully) neutral tone, using a little Liquin. I usually have enough of this to tone one panel. I’ve found that this layer of toner adds just the right amount of “tooth”. Some people love painting on a bright orange-toned surface, but I find it easier to stick to a more neutral tone: pale mauve, peach, gray-green. Here, I’m using a wadded-up paper towel to smear it on. I try to avoid strong, textured streaks.

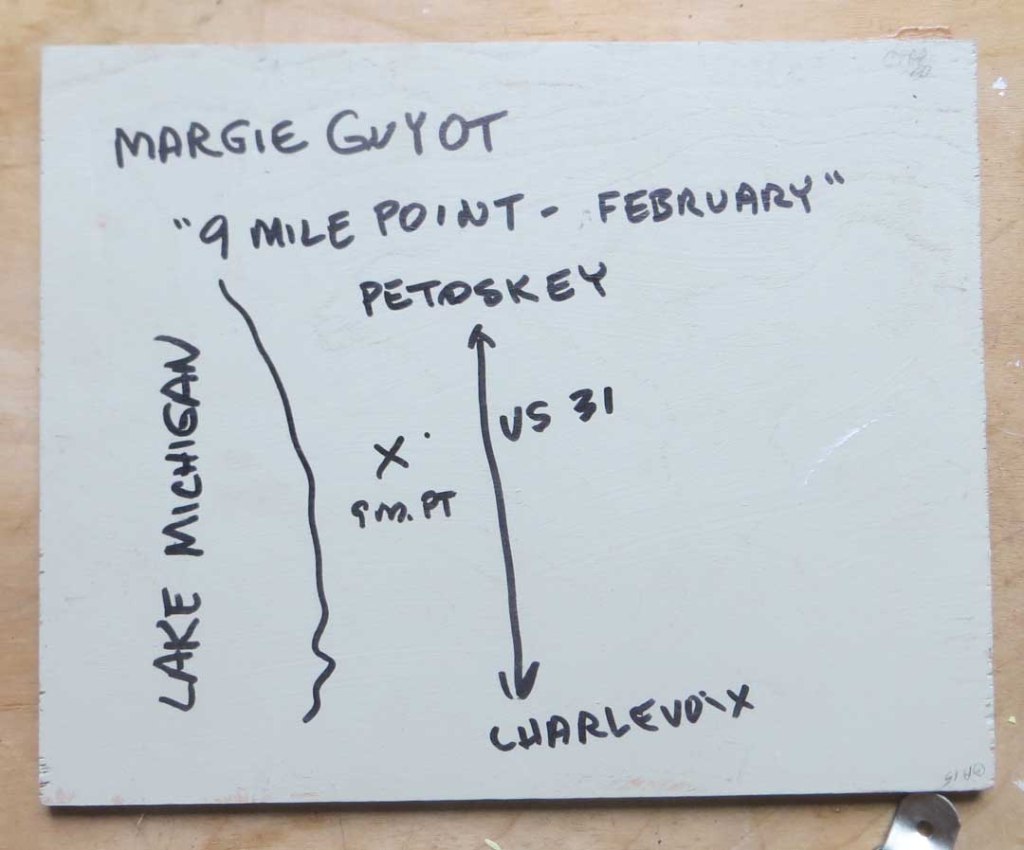
And now – why use pale colors on the backside? After finishing a plein air landscape, I like to draw a simple map on the backside of the location. Gallery owners love this. They’ve told me customers will use the map to drive out to take a look at where that spot was. And maybe some day, 100 years from now, people might like to see how things have changed.
Another tip: it’s a good idea to use a pencil to put the initials of the gallery it’s been shown in. Unobtrusively, of course. That way, you’ll always be able to tell at a glance if that painting has already been in that gallery.
Yes, it’s a lot of work, but I think these panels are a lot better to paint on than canvas when it comes to small size paintings. And they’re almost indestructible.
